Blogvice: How to Make Composite Photos
- Lucy

- Jan 26, 2018
- 2 min read
WOO HOO! Finally back around with another Blogvice! Questions pertaining to how to start a blog and all things blogging are messages I receive every single day -- and one of the more specific ones is how I made all of my composite photos when I share my favorite products or a haul of what I've recently purchased. It took me several months to understand how exactly to make these and what goes into making these. It does take more detailed time and it's tedious work but anyone can do them. I use Pages on Apple for this because I love how the software offers me direction when it comes to having level pictures, cropping, and centering titles. You can do this on Microsoft Word though!
Start with collecting your images. Say I was sharing what I got for Christmas, I would go online and find the images of everything I received for Christmas with a white backgrounds. TIP: if you're shopping on a site and they don't have photos with a white background, try Nordstrom's site. They have tons of brands and shoot all merchandise with white backgrounds. I have to do this with J. Crew items.
After I collect all of my images, I open pages and start working on the size of the picture. These composite photos are just text, images and shapes layered on top of one another so at first, this seems so difficult, but it gets easier with practice. In the image below, I share the sidebar of Pages and all of its little tools. The arrange tab is the best for layering photos and cropping them to be exactly the way you want it.

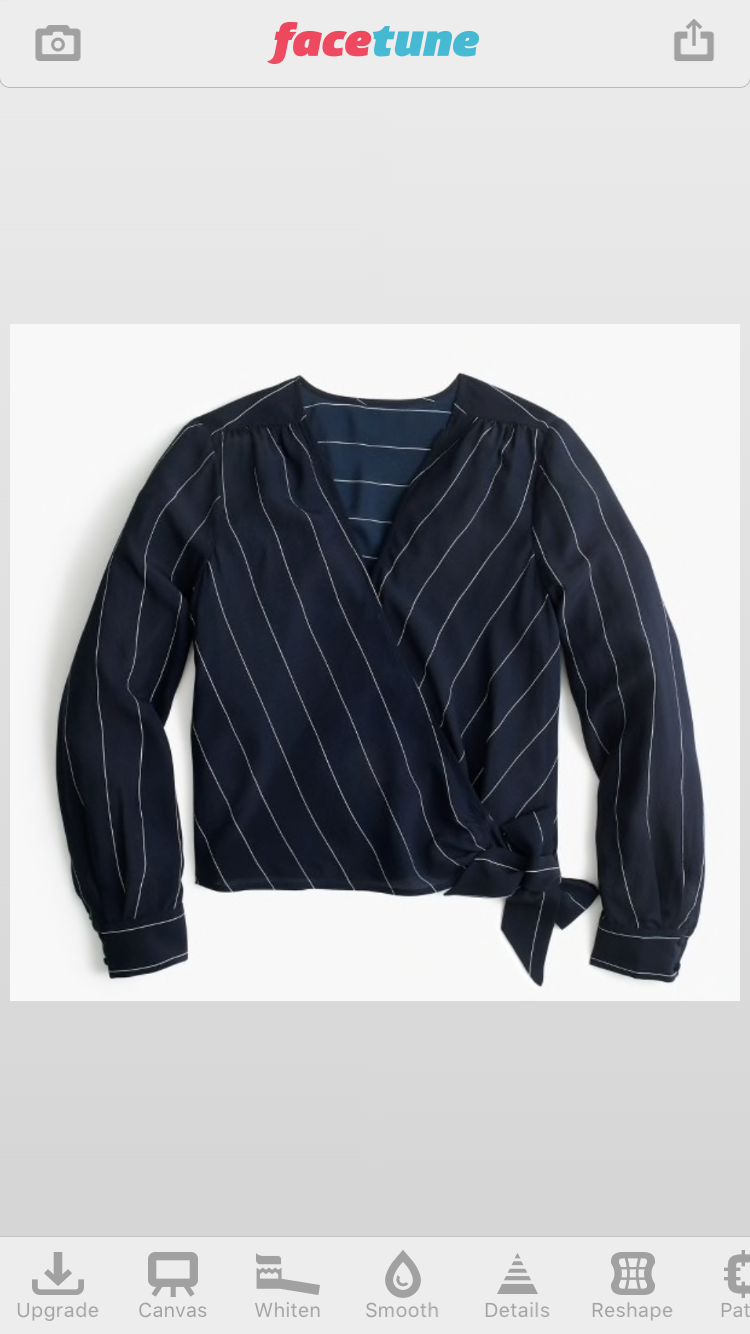
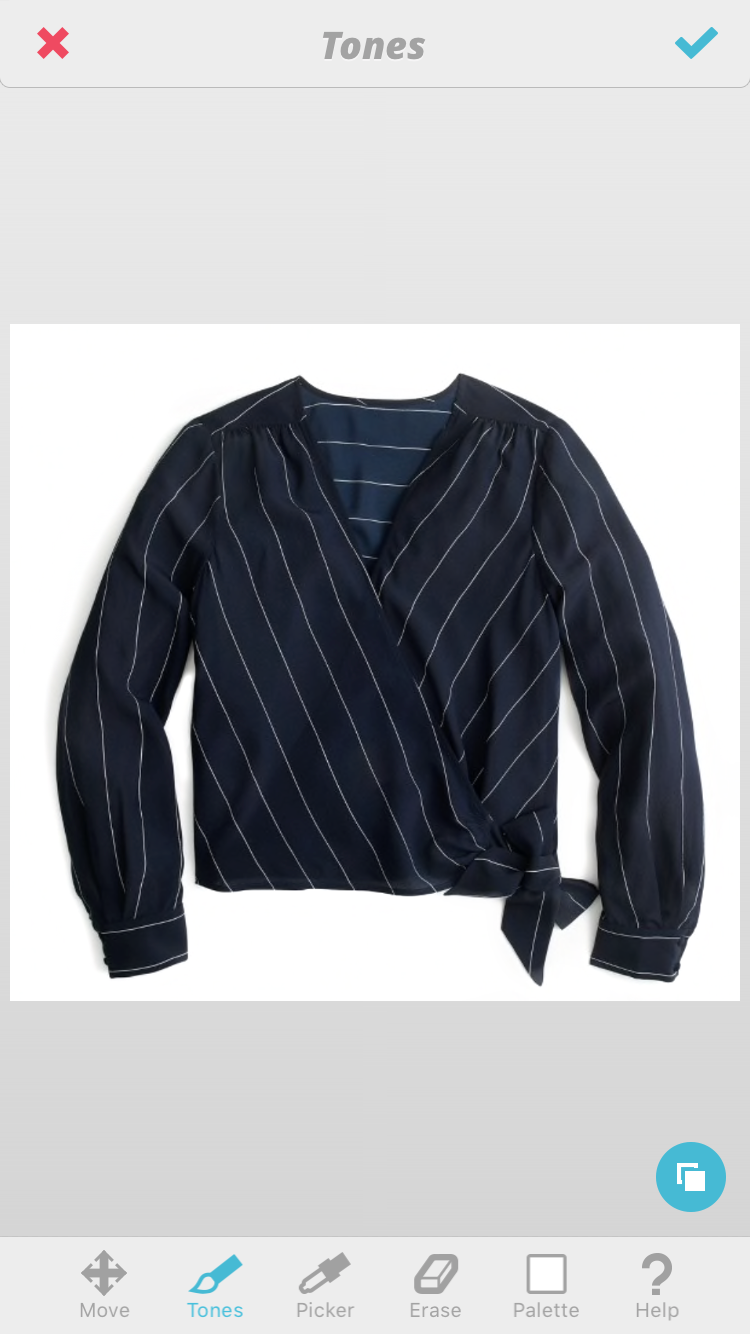
Sometimes, you can't find a photo with a white background so it makes your entire composite look unprofessional. Yes, you use photoshop, but honestly I have no clue how to use Adobe photoshop, but I do know how to use editing apps on a phone. Facetune works wonders when needing to recolor the background of an image. Find your image online, like usually and send it to you phone. I then upload it to Facetune and specifically use the "tones" feature, select the brightest white offered and then just color in the background.
You won't see an incredible difference if the photo had an off white or light grey background. The biggest advice I have when it comes to this, is to get the corners of a photo. It's the easiest thing to miss or not go over enough in the editing process. Afterwards, just send yourself back the image and add it to the composite.


To polish things off, add a title, maybe some shaped or outlines here and there and then use "command, 4" to drag and drop a crop of the image to upload online. Again with those images and shapes just use the layering and sizing to make it exactly as you want it to be. Remember the entire point of these composites are so readers can shop what you're loving and what you're shopping. Make sure to link products, especially the lowest prices you can find!


Comments